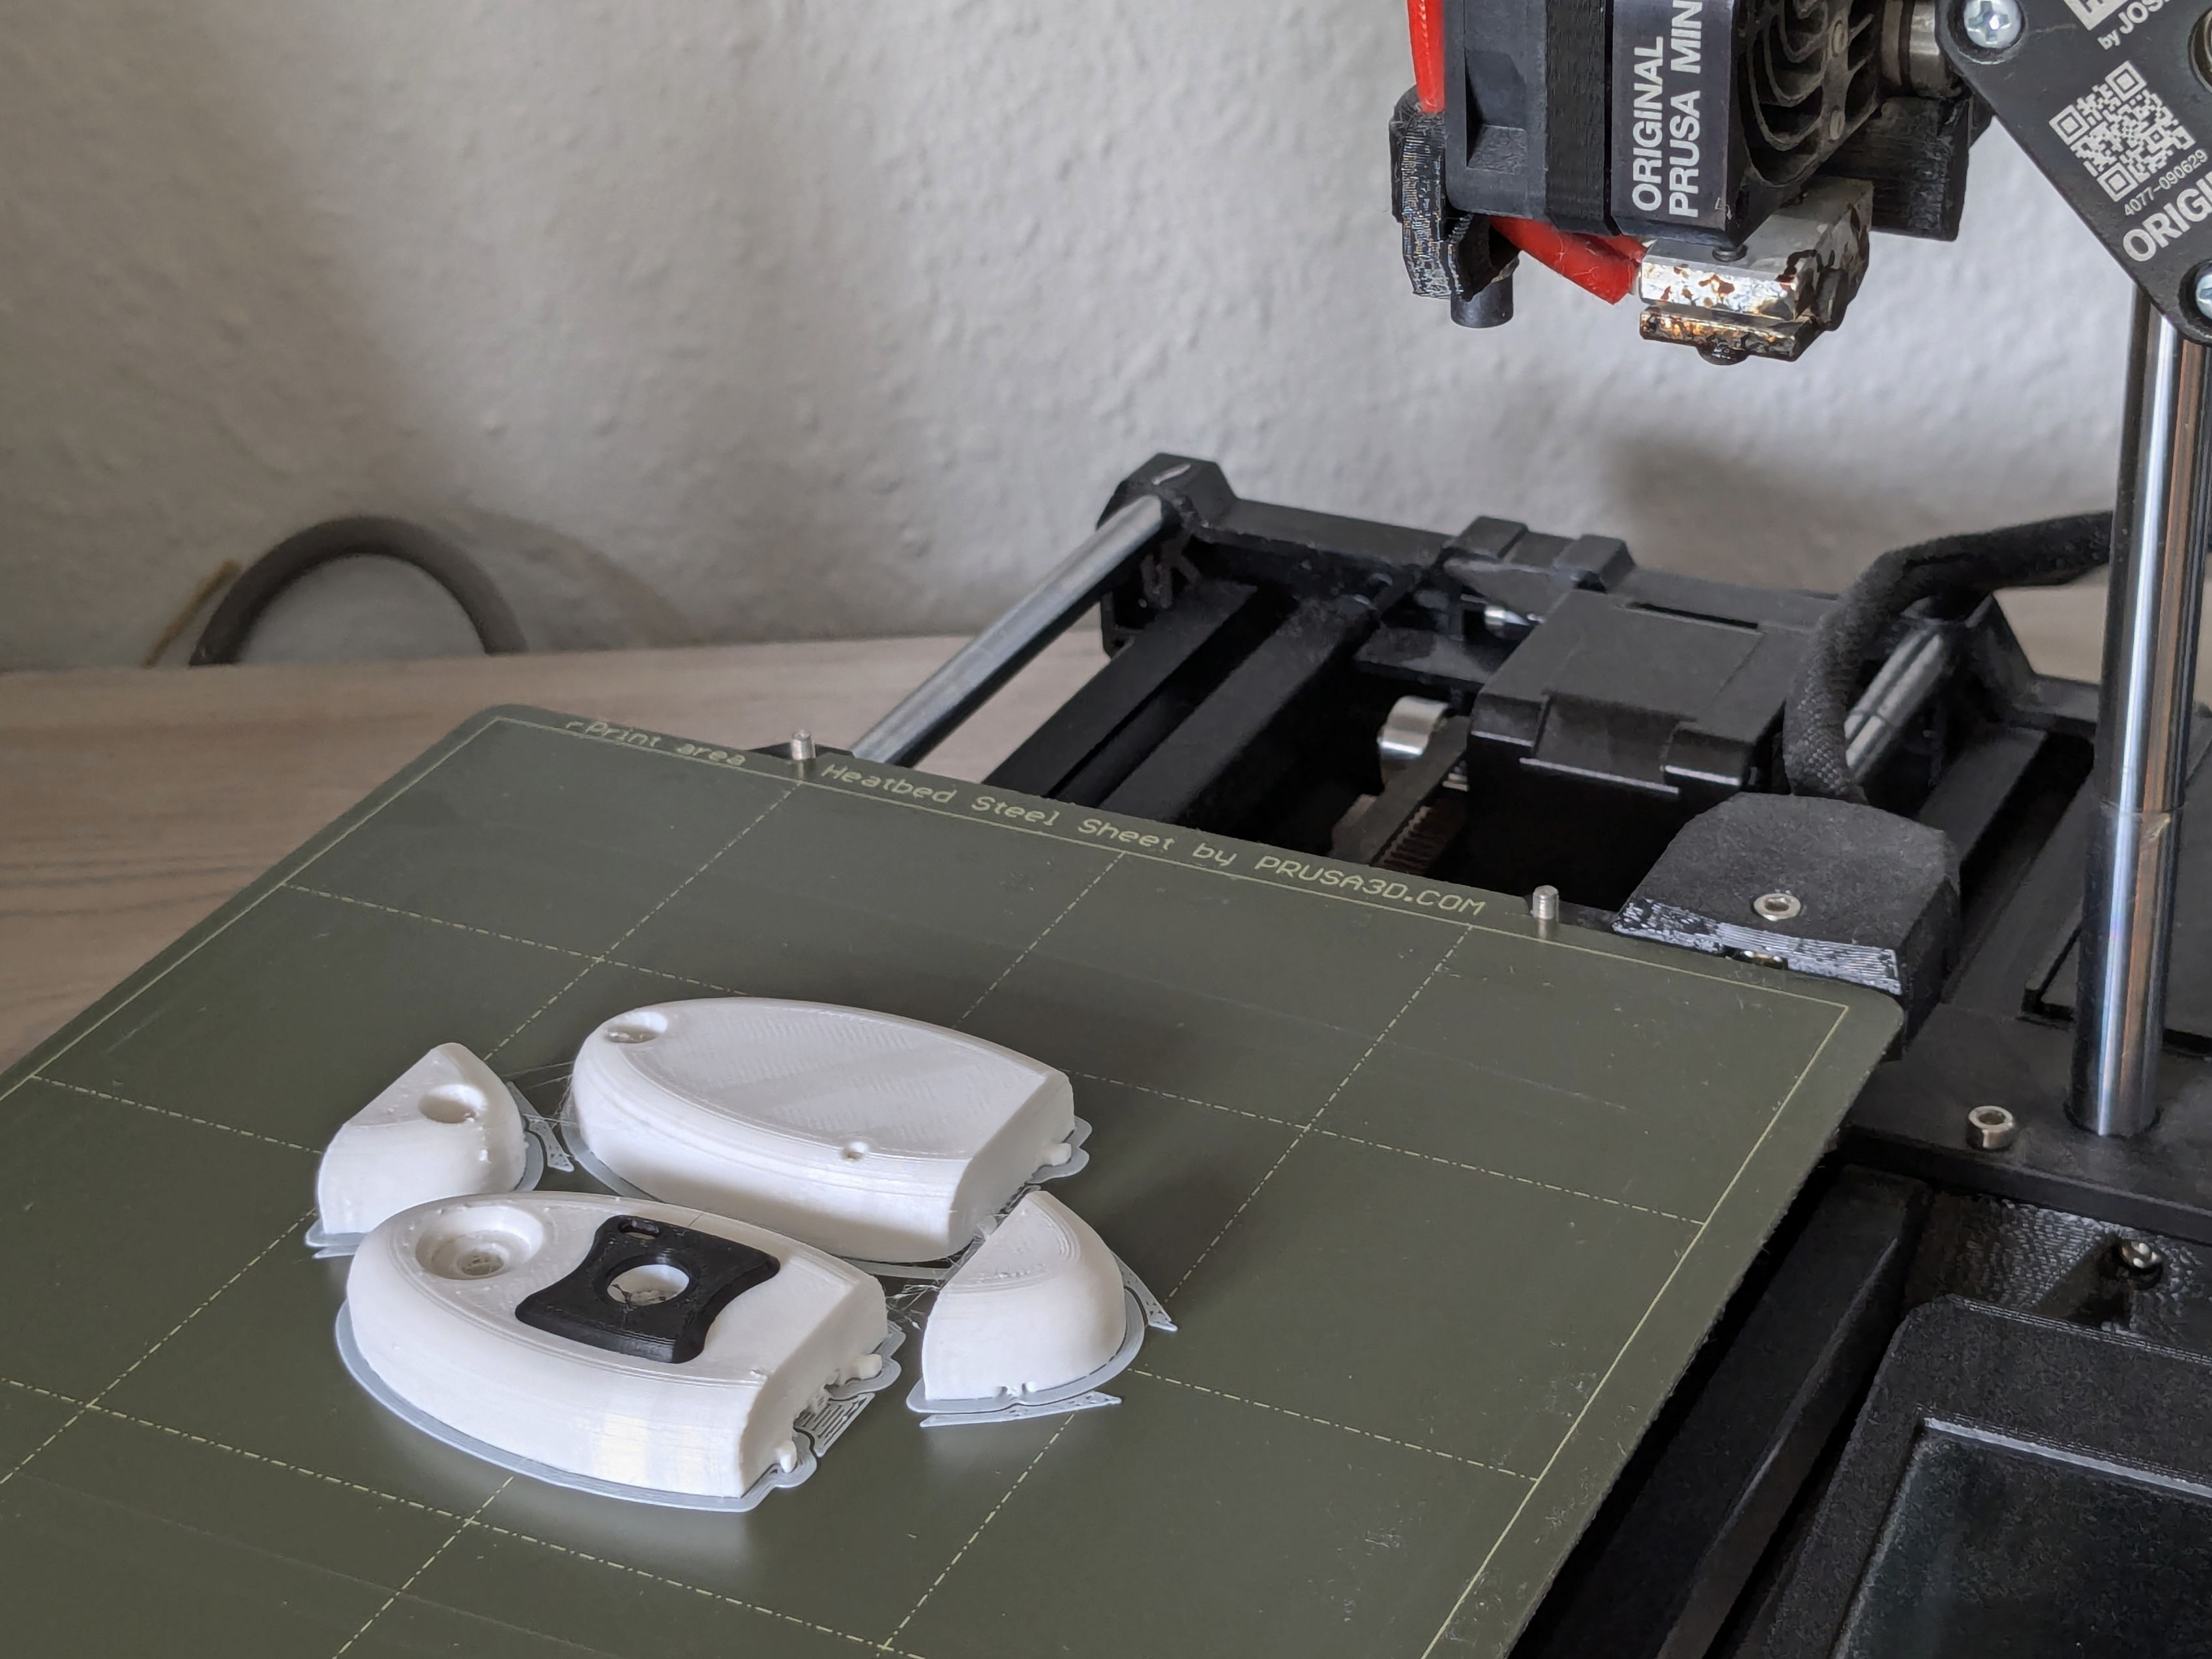
Step 2: 3D Printing a shell #
The AutCorders have a few different shells available for print, appropriate for different kinds of use, and of different aesthetic forms. Functionally, they are all the same (except for the TrunkCam model, which has additional space for a much larger battery). All of them can be printed on almost any FDM printer with an 18x18 cm or larger build surface.
Requirements #
Tools and parts
- A 3D printer (any old FDM printer should do).
- Filament: 6.7m, 6.8m or 31.5m (20g, 20g or 95 g) depending on the chosen shell. PLA or PET recommended.
- Tools for installing heat-set inserts. If not a specialized soldering tip end, a long bolt and a lighter will suffice.
- A number of M3 heat-set inserts (4.5mm Outer diameter, 3mm length) and machine screws, again depending on the chosen shell:
- PebbleCam: 2 sets of inserts and screws, 6mm length machine screws.
- SquareCam: 3 sets, 4mm length machine screws.
- TrunkCam: 4 sets, 10mm length machine screws.
- Optional:
- Sand paper (180 grit).
- Spray paint and primer.
Note: The TrunkCam shell is designed for using a low-profile keyboard switch for the shutter button and a socketed 18650 li-po battery.
Sub-Steps #
Printing the shell #
- Download the 3mf file for your chosen shell from the repository.
- Open in your slicer and adjust print parameters for your particular filament and printer:
- Supports on build-plate should be enabled.
- Unless you have perfect adhesion, a small brim is recommended.
- Go for the finest resolution you have time for.
- Print.
If you are not planning on post-processing the prints, you can add a filament-change break in the slicer after the completion of the main shell body for a simple multi-color design:
 This is possible for both the PebbleCam and SquareCam shells.
Post-processing the shell #
Remove the support structure from the print. If the unprocessed print surface is fine for your use, skip to the next sub-step.
Otherwise, sand down the prints to reduce the print-layer lines. Then in a well-ventilated environment, spray paint the prints, first with a primer, then a coat of your choosing. Remember to make short passes and keep the spray nozzle at sufficient distance to avoid paint pooling.
Keep ventilated until dry.
Install heat-set inserts #
Heat-set inserts are installed in plastic prints by heating them before being driving into prepared holes in the print, displacing melted plastic to make a solid attachment. Specialized soldering iron tips and mini-presses exist for easing this process. For small scale productions, it’s just as easy to screw an insert onto the tip of a long machine bolt, heating the insert in the flame of a lighter for a while, and then carefully pushing the insert into the print until it is slightly below flush with the surface, making sure to keep the bolt perpendicular to the print until cooled. If any melted plastic has squeezed out beside the insert, it can be removed with a box cutter or hobby knife.